
tl:dr
Buy, or build your own robotic arm from the plans available from phenoptix. Connect it to a Pi using an Adafruit I2C servo controller board. Control it using ScratchGPIO. Get creative. This is perfect for KS2 or KS3 students who want a build challenge, but aren’t quite ready for the challenge of coding the robot control in python.
Background
I bought a MeArm from Phenoptix before the Christmas break, as my STEM club kids had wanted to build a Mars Rover style robot with a robotic arm. I thought I’d start small and work my way up to building my own so I bought a retail kit from the phenoptix website after being really impressed with the V3 at the Poole Raspberry Pi Jam 2014.
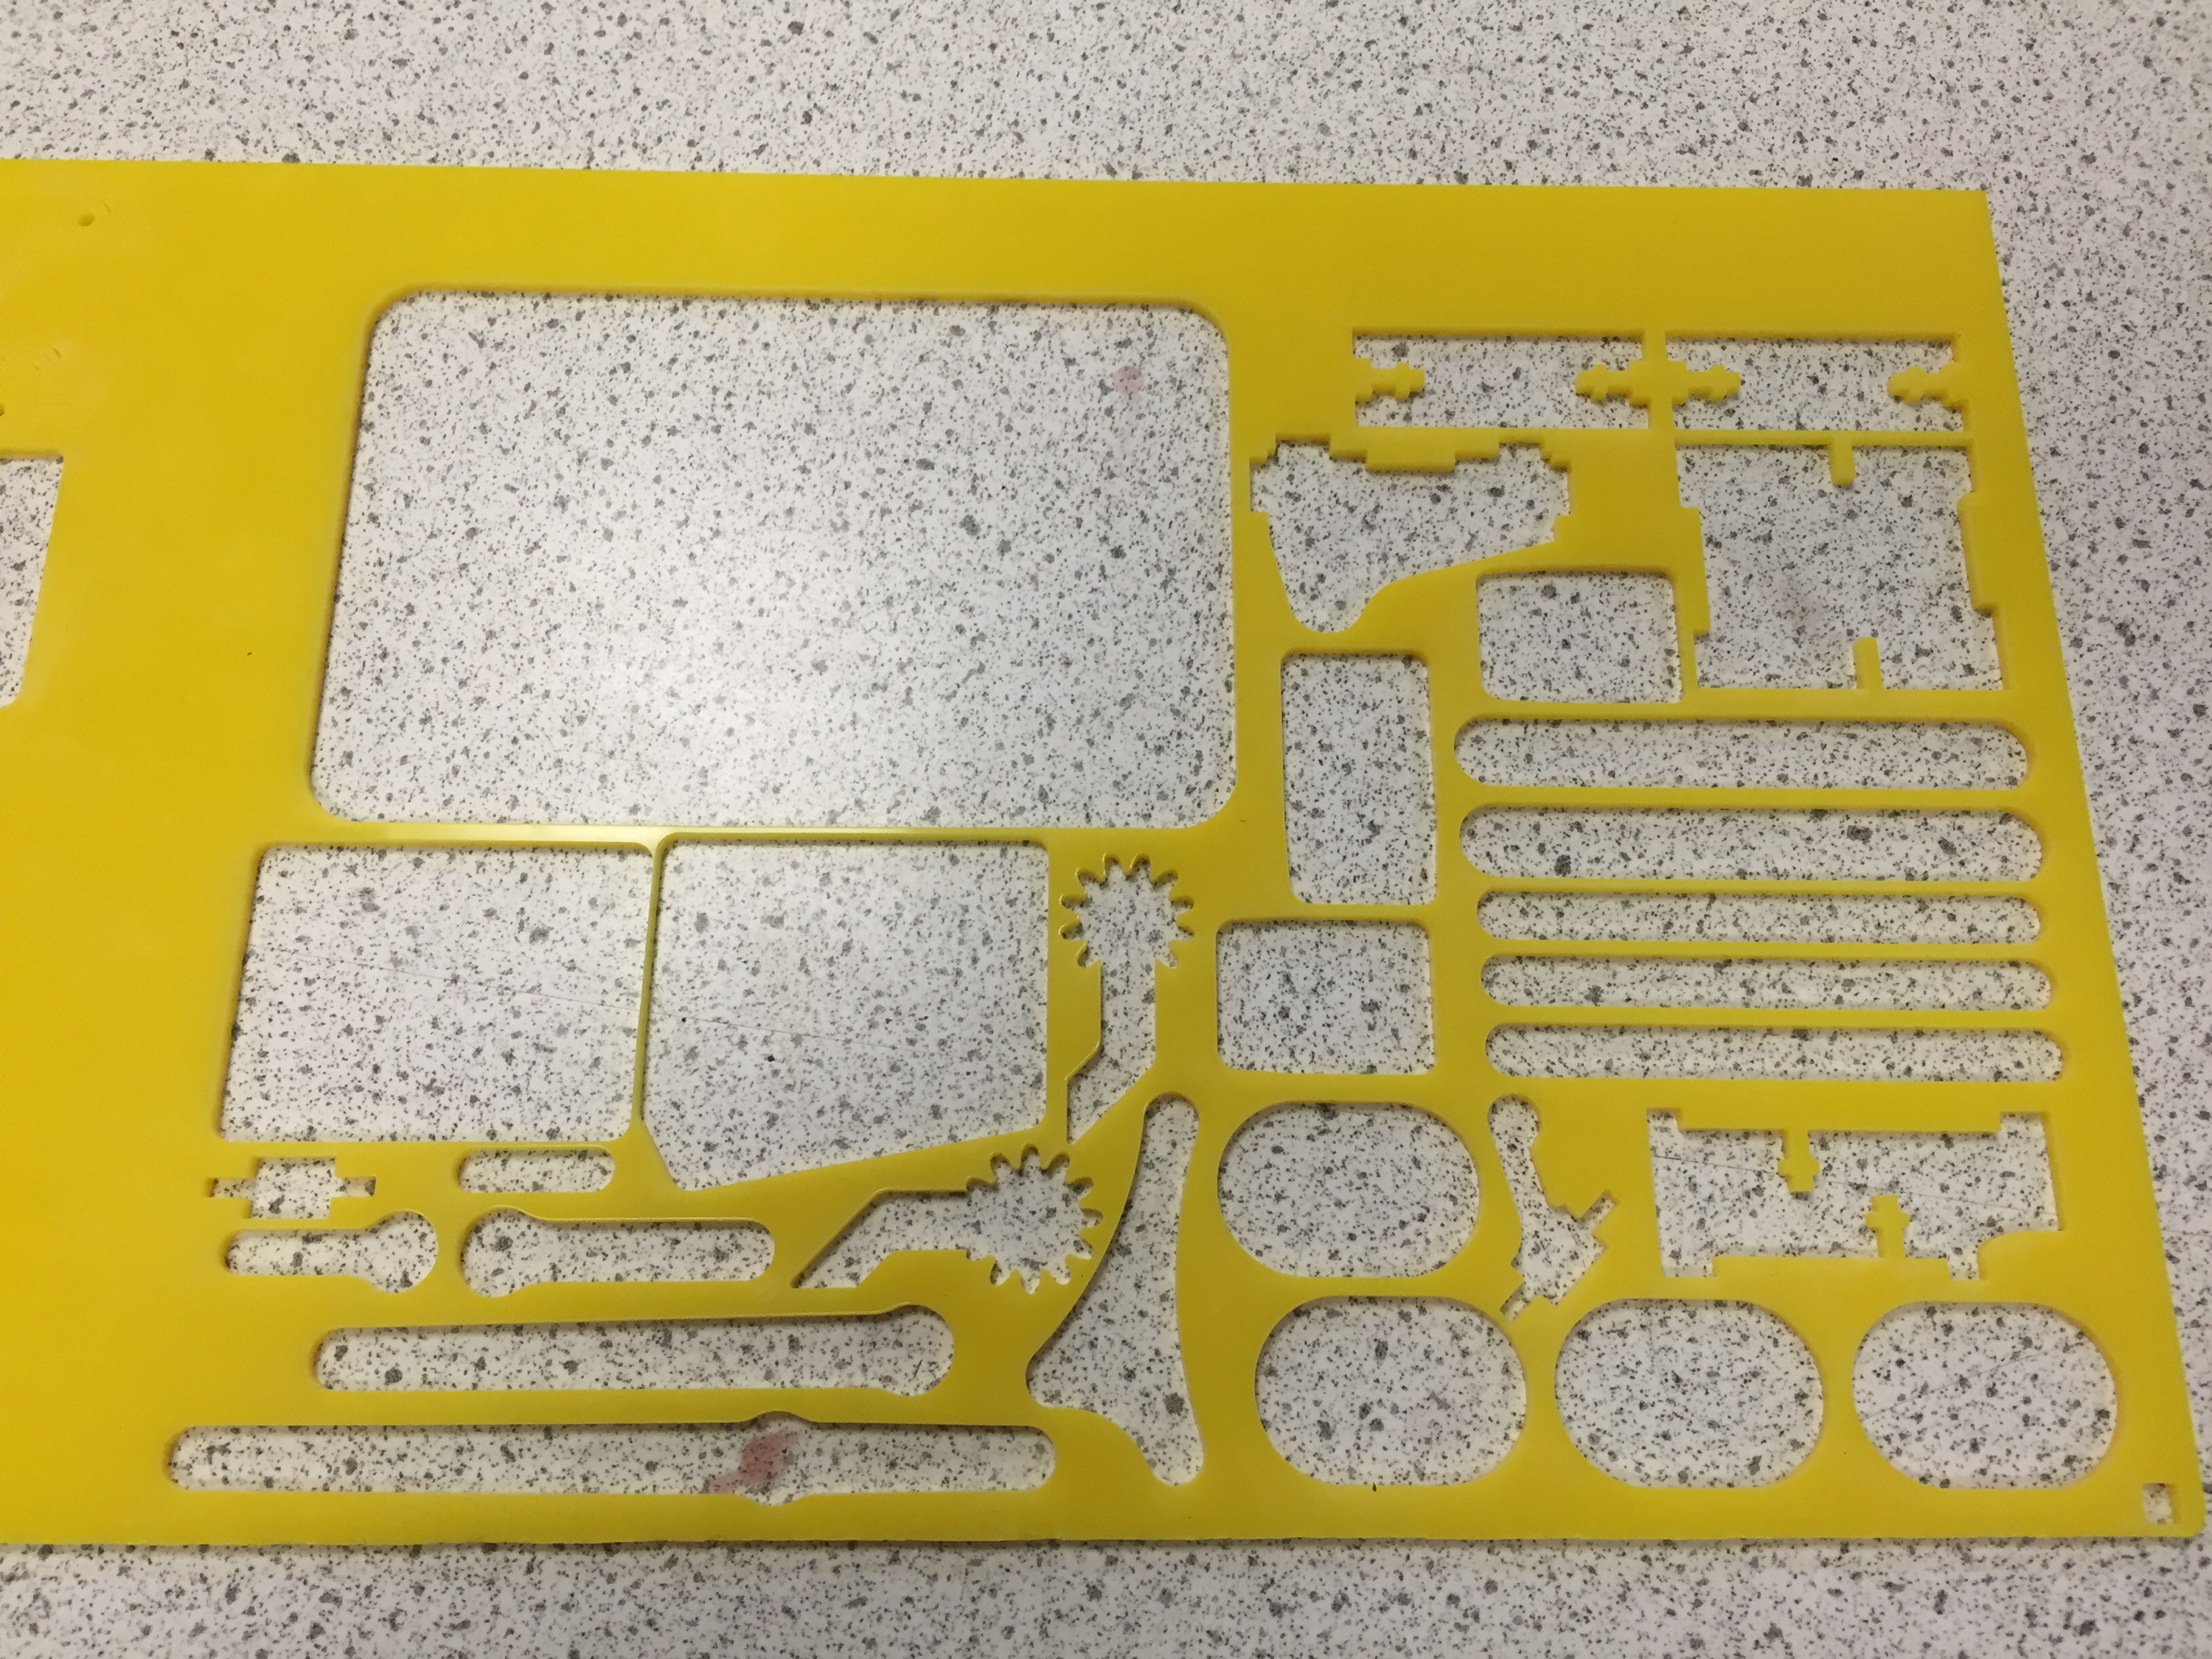
The kit is sold by Phenoptix (www.makersify.com) and comes with everything needed to build the robot, including laser cut acrylic parts, M3 nuts and bolts for fixing, and 4x 9g Turnigy servo motors. They also entered the design into the Hackaday I/O contest, and open sourced the hardware so you can roll your own if you need to. This makes it an amazing choice for school STEM projects if your school has access to a laser cutter or a 3D printer, as you can make the robot for less than £20 quid and a dig around in the parts bin. Controlling the robot is left up to you: There are build instructions for Arduino, Pi, and Beaglebone (and presumably ninja skills with 555 timers and pots) as the control methods. The code for all these has been hosted on gitub.
The Build
My initial kit had the incorrect number of parts, so the build stalled about 2/3 of the way through but a quick email to the website meant they dispatched replacement parts in about 4 days. It’s really important to get the initial positions of the servos correct in the build, as it can have two consequences:
- Having to disassemble the robot to correct the servo position in order to get the full range of movement. (A pain)
- If the base servo is misaligned, the robot can end up pushing against the supports and burning out your servos. The claw servo can also burn out easily if you haven’t set limits in software and misaligned the servo before assembly.
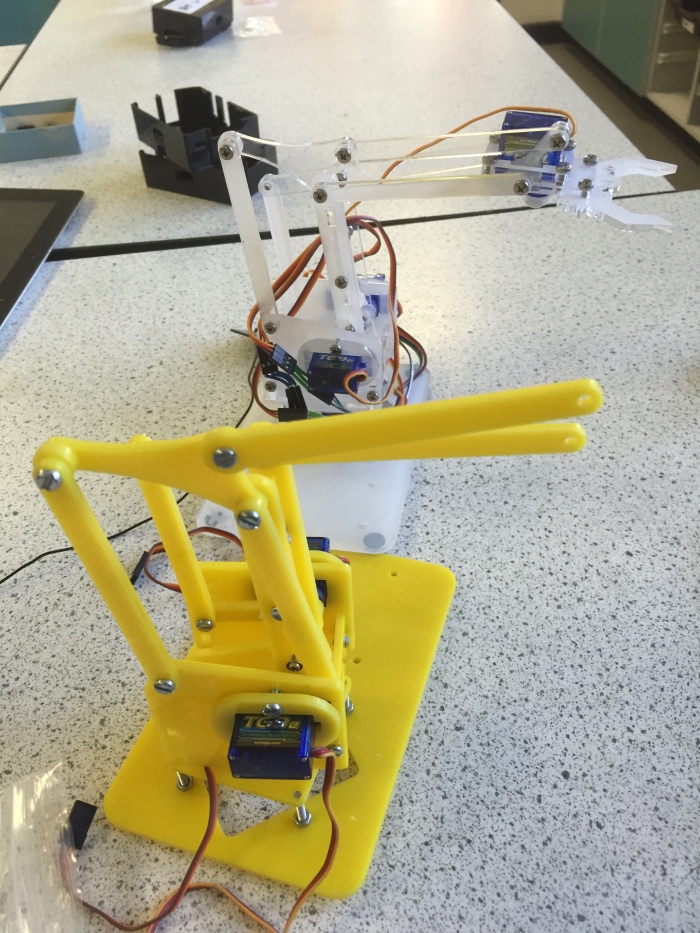
.Retail Kit meArm is in the background. Our own version is in the foreground. I watched them build it without setting the servo positions correctly and kept quiet. Then they worked it out for themselves, and disassembled, reset and rebuilt without my help!

Once assembled, the robot looks pretty awesome but the robot won’t be able to move without precisely timed PWM signals generated from a Pi, Arduino, Beaglebone or a servo controller unit. These have to be precisely timed, and require a PWM pin, +5 V and ground for each servo.
Connections to the GPIO
This how-to is for a Raspberry Pi Model B or B+ (not a Pi 2) , using Adafruit’s 16 channel servo controller board, Scratch GPIO 7.
I decided to use the Adafruit 16 channel servo controller. It works over i2C, and so only requires 4 pins from the GPIO. You will have to enable i2C on your Pi first, by following the tutorial online at Adafruit Learning Centre
1. Assemble the Adafruit board by soldering in the header pins
2. Enable i2C on your pi by following the instructions at the Adafruit Learning Centre. This is just editing a config file and then rebooting down the Pi
3.Attach the breakout pins on the Adafruit board pins to the correct GPIO pins as shown below.

Make sure that the Pi is turned off before attaching pins to the controller board!
VCC is attached to 3V3 (GPIO 1 ) This provides the voltage for the controller chip at 3V.
Gnd is attached to Gnd (GPIO 6 ) This provides a ground voltage for the controller chip at 0V
SDA is attached to SDA (GPIO3 ) This pin is the Serial Data pin, where all of the PWM signals are pushed to the different servos
SCL is attached to SCL (GPIO5 ) This pin is the Serial Clock pin, where the timed pulses for i2C master-slave communication are generated.

Connecting the servos to the board.
Connect each servo to the board correctly:
Make sure that the Black wire is connected to ground, The red wire to V+, and the White wire to PWM.
I connected the servos to the board as follows:
- Base servo: Channel 0
- ‘Shoulder’ servo: Channel 1
- ‘Elbow’ servo: Channel 2
- ‘Gripper’ servo: Channel 3
I usually have a whole bunch of female-female header leads for experiments with Raspberry Pis, and then I use solid jumper leads to connect these to the servo leads. You should thread the leads through the centre of the arm to keep the leads tidy, and to minimise snagging whilst the robot is moving. You’ll need to extend the servo leads of the micro servos in order to prevent any tension whilst the robot is in motion. I’ve got 20cm jumper leads bought on Amazon, and can highly recommend them for STEM projects.
The Adafruit 16channel 12bit i2c board, allows the Pi to control the 4 servos using i2c over the GPIO. You need to use an external 5V power source to power this board, otherwise the Pi will brown out whenever the servos are moving. You can damage your Pi if you try to drive 4 servos with the GPIO. I used an external bench power supply to make sure the servos got a constant voltage supply.
Make sure that you connect the servos to the Adafruit board, the Adafruit board to the GPIO and the External Supply to the Adafruit board whilst the Pi is powered down. Check, check and check all your connections again. The GPIO can be a fickle beast, and connecting it incorrectly can damage the Pi. Be nice to your Pi.
Once you reboot your Pi, you should see the adafruit board will light up, and you can check that the Pi can see the i2C device with
sudo i2cdetect
Connecting the Adafruit Servo Board to Scratch GPIO.
Install ScratchGPIO on the pi using
wget http://bit.ly/1wxrqdp -O isgh7.sh
followed by
sudo bash isgh7.sh
ScratchGPIO7 should then be installed. If you don’t get a link on the desktop, you might need to dig around in /etc/ to locate the scratchGPIO7.sh file.
Start ScratchGPIO. The program should automagically detect the i2c device if it can be seen using the i2cdetect command.
Set up some variables:
AdaServo0 – This is channel 0, the base servo, and should only be sent values ranging from -90 to 90
AdaServo1 -This is channel 1, the shoulder servo, and should only be sent values ranging from 70 to 0
AdaServo2 -This is channel 2, the ‘elbow’ servo, and should only be sent values ranging from 20 to 70
AdaServo3 -This is channel 3, the gripper servo, and should only be sent values from 0 to 30.
These values are all assuming that you have assembled the arm according to instructions. You might find that your ranges are slightly different.
You can choose to increment the values of the variables by using the arrow keys, or you might create a generator script which will automatically scan through the values for each variable. we had a ‘panic’ function that set the robot to a home state with a single button press if things got hairy!
Here’s a video of it in action:
Be careful not to exceed the maximum values for the servos. The 9g servos have relatively weak plastic gear trains, and can strip their gears easily!
We’ll share our scratch code, and will post our python code as soon as we can get coding again.
